Setting Up Your United F100 Automatic Paper Folder
Unboxing your United F100 Automatic Paper Folder
Before you can begin folding with your United F100 Automatic Paper folder, you’ll need to follow some set-up tips to get it ready.
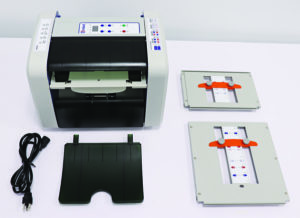
Opening the box, you’ll find these five parts: the F100, power cord, infeed extension tray, lower fold plate, and upper fold plate. Check to be sure all parts are present with no signs of damage.
Getting Started
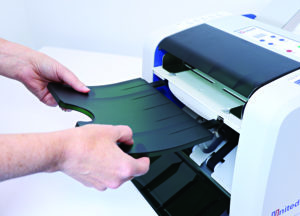
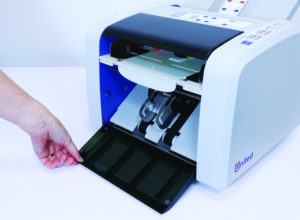
On the F100, lower the outfeed tray, and install the infeed extension tray. Line up the two tabs on the infeed extension tray to the two slot openings on the F100 and insert. Give it a good push to be sure it’s seated securely, with no gap visible. With the infeed and outfeed trays all set, we can install the fold plates on the other side of the machine.
Installing the Fold Plates
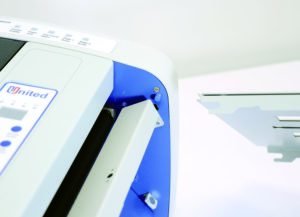
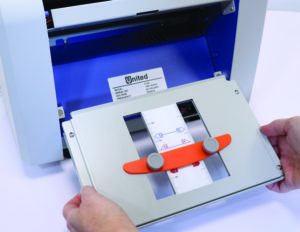
The F100 has alignment pins for both the upper fold plate and the lower fold plate. You’ll need to align the fold plates with these pins. Hold the upper fold plate and notice the two notches cut out on each side of the plate. Slide the fold plate into the F100 and align these notches with the pins. Be sure the fold plate is installed securely on the pins.
Use the same process with the lower fold plate, aligning the pins with the notches, and secure. If you are creating half folds, remove the lower fold plate, rotate it 180 degrees, and re-install. This side will have a closed stop on one end rather than an opening for the paper.
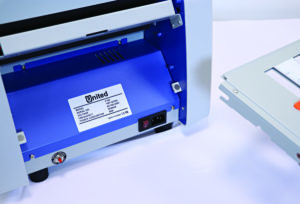
Lastly, plug the machine in, and turn the power on. Now, you’re all set to configure your F100 for the folds you need!
To learn more about the United F100 Automatic Paper folder, view it here.
And to watch any of our videos on the F100, check us out on YouTube!
![JC6 P3P4[EN] Rotary Trimmer, Rotary Trimmers, Guillotine Trimmers, Guillotine Trimmer, Paper Trimmer, Paper Trimmers, Paper Cutter, Paper Cutters, Wide Format Cutter, Wide Format Cutters, United Guillotine Trimmers, United Guillotine Trimmer, United Paper Trimmer, United Paper Trimmers, United Paper Cutters, United Paper Cutter, United Office Products, United Staple Gun, United Staple Guns, Staple Guns](https://unitedofficenow.com/wp-content/uploads/2020/07/F100-QS-guide-fold-plate-notch-diagram.jpg)
For a more detailed guide on assembling the United F100, view the quick start guide!